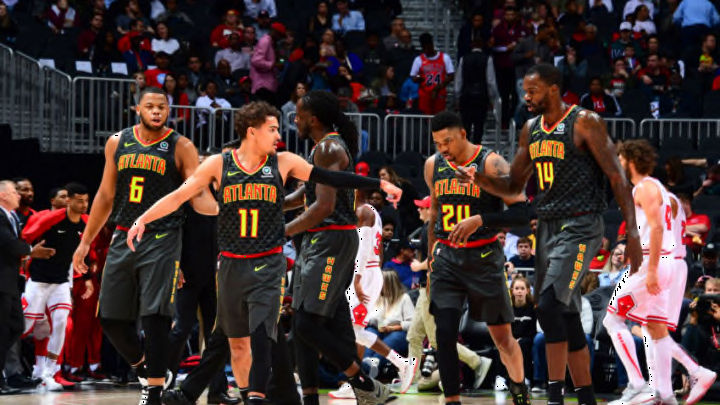
Atlanta Hawks: A Recap of Each Overtime Period in Wild Loss
By Dallin Duffy

The Shot, The Foul(?)
After an Otto Porter driving layup to tie the game at 121, coach Pierce opted for a timeout with 17 seconds left.
The play he drew up was simple: Let Trae be Trae.
After dribbling the ball near the center logo, the rookie guard hit a step back three to give the Hawks a 3-point lead with just seconds left. Young had finally hit his game-winner, right?
Well…
Trae only did one thing wrong on the play, leaving 2 seconds left on the clock for the Bulls to chuck up a three, and Porter did just that, missing but getting fouled by Dewayne Dedmon on the attempt.
Porter, to his credit made the 3 clutch FTs to tie, and for the second game in a row, there was free basketball in the ATL.
The shot:
Trae Young is unreal
— FanSided (@FanSided) March 2, 2019
(via @ATLHawks) pic.twitter.com/aHL4Y2ZwD4
Again, not much Young could have done better here. Perfect step back off a noted good back court defender in Dunn. Of course in hindsight you’d like to say he should have held onto the ball for another second, but that’s just not realistic.
The Foul:
The Hawks did everything you are supposed to do on defense at the end of game. Great switches, good talk, locked in, then Bazemore reaches and DEDMON (thanks @CameronCBlack) fouls a three point shooter up 3 and this is why coaching is stressful. pic.twitter.com/AuZr5iXasj
— Steve Jones Jr. (@stevejones20) March 2, 2019
The crowd didn’t like this one, but it was pretty easily a foul in my eyes. Dedmon, who was great defensively all night just needs to know when to contest a bit more lightly. An off-balance deep three is always harder than free throws (for most players).